Between my father and I, there’s a lot of memories sitting in shoeboxes around the house. They’re not all great photos, but there are some great memories. Scanning them is slow, and when my scanner died recently, I almost gave up. Almost! 😉

This is a clip on macro lens from Struman Optics. It fits on any phone/tablet and produces a reasonable quality image. Most importantly, the macro is only 2.8x magnification. This means the captured area is around the size of a 35mm negative.
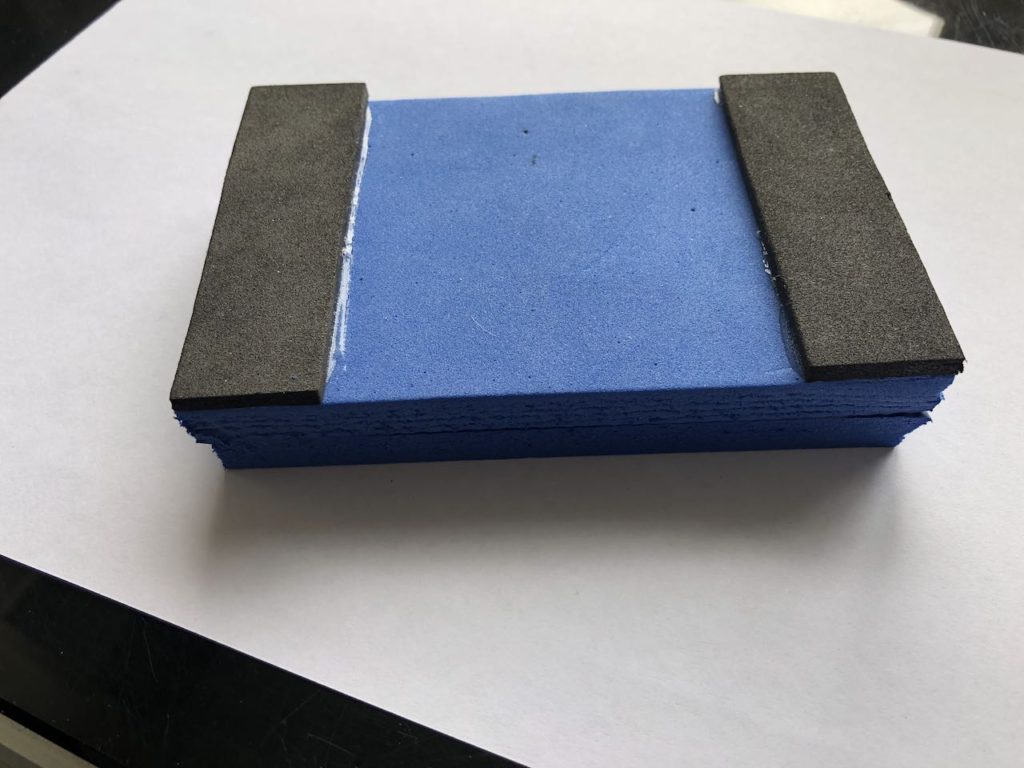
I cut a foam block to hold my phone just the right distance (25mm) from the negative.
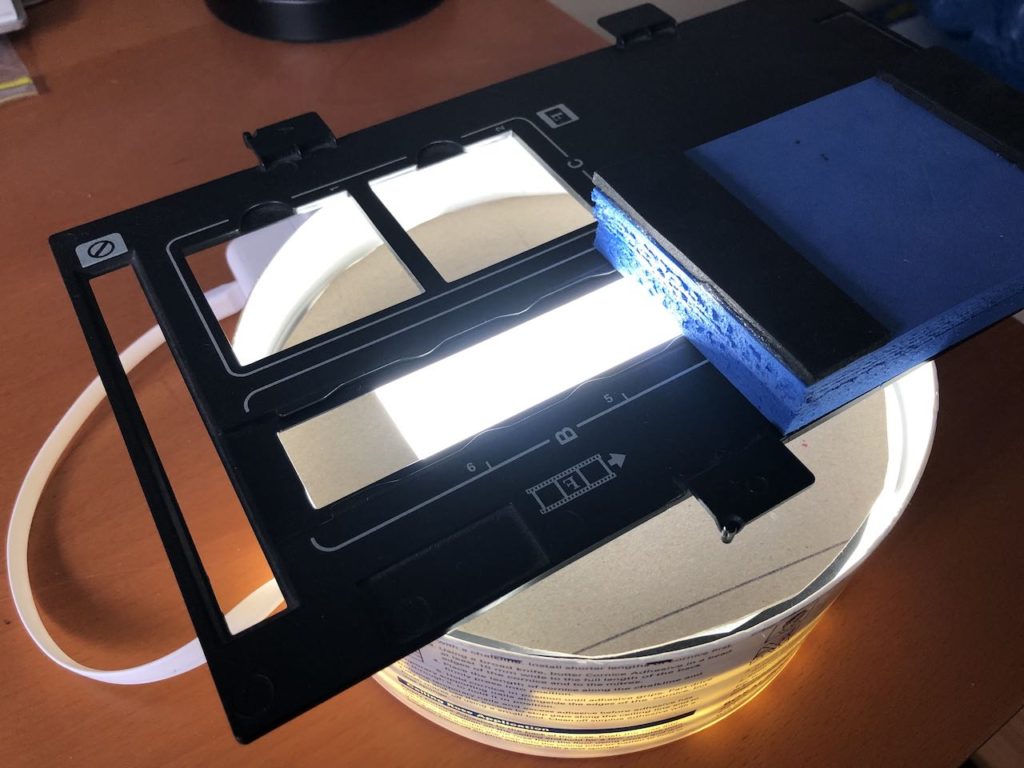
I used a lightbox I’d already fashioned out of a plastic bucket, and some USB powered LED strip lights… (yes, we’re seriously low budget here!).
The negative carrier is from my old, dead epson scanner, but I don’t think it’d be too hard to fashion one out of card.
Now, here’s one of the fun bits.
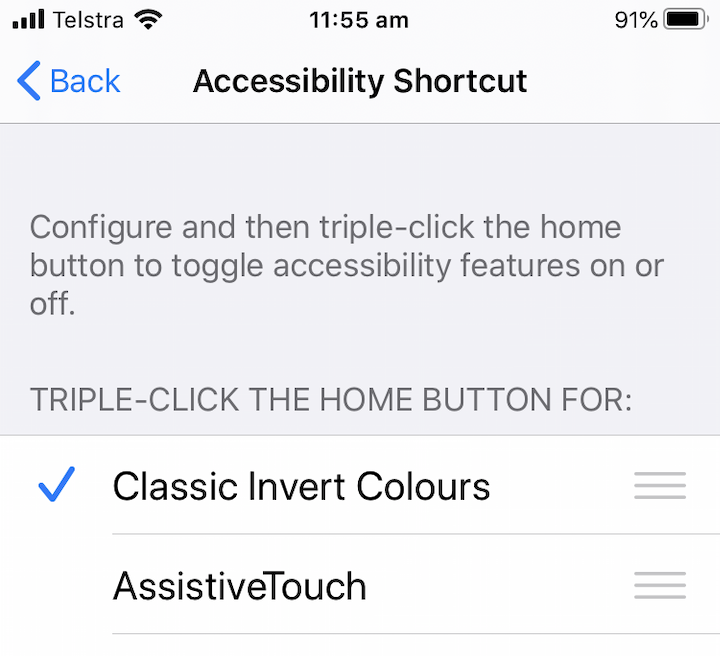
On an iPhone, in Settings > Accessibility > Accessiblity Shortcuts … you can set a shortcut to invert colours on the screen. I use a triple click of the home button.
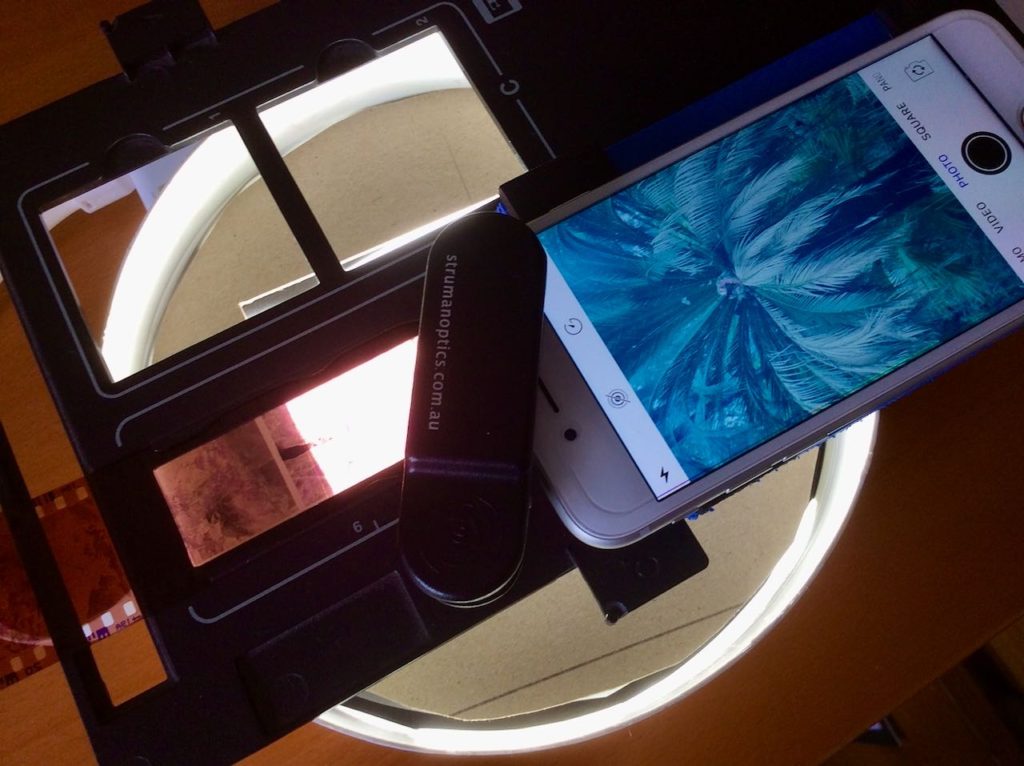
So, when I feed a negative strip through, I can get a reasonable preview of what the image is before capture.
This is important, because… well, TBH, there’s a lot of boring photos!
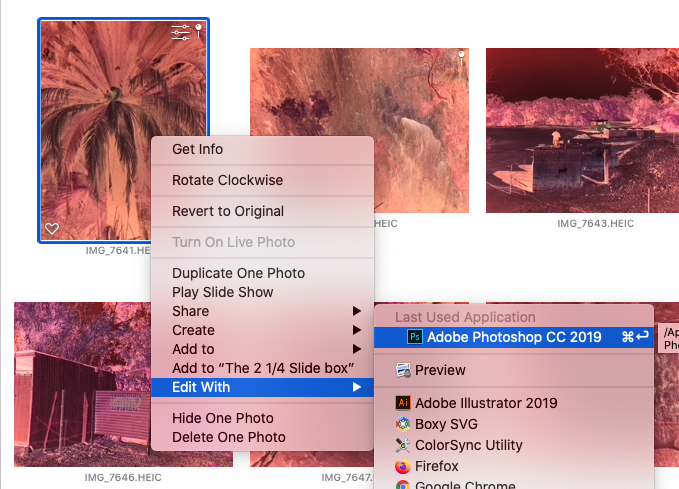
With iCloud photos, in a very short time, the images are available in the Photos app on my computer. I rotate and flip them before handing them off to Photoshop for the next step.

Invert the image, then head to Curves, and the advanced Options. Using Enhance Per Channel Contrast will get you 95% there most of the time. Save it as the default, and you’re ready to churn through them.
Save and close, and they’re back in Photos and ready for any tagging and fine tuning.
Samples – links open in a new tab: